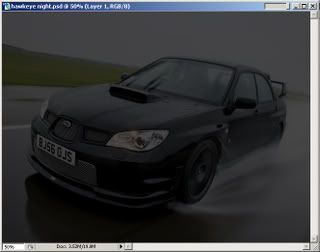
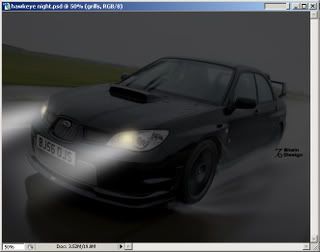
1. I started with this picture off of Google Images (I take no credit for the photograph). I wanted to focus on the lighting, so the first step was to lower the brightness of the whole image using Hue and Saturation (Ctrl+U or Apple+U).
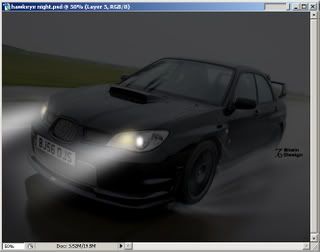
2. The next step is the highbeam rays. Create a new layer, then select the area you want lit up. I start with the elliptical selector and then add the rays with the Polygonal Lasso tool. Feather the selections (Ctrl+Alt+D or Apple+Alt+D). I used a radius of 35, but if you want the lines crisper use a lower number. Go over the selections with the color you want the lights. I used a color slightly off-white.
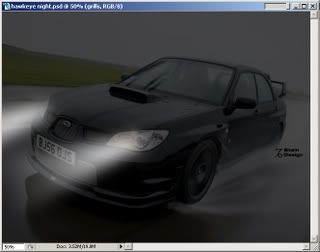
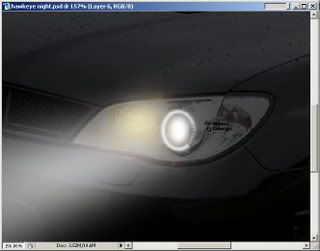
3. Next, add a more yellow light to the inside of the highbeams. Create a new layer, make the selection, and feather it (I used 25) then go over it with yellow.
4. For a more realistic look, I lit up the headlight area near the bulb. Select it with the elliptical tool, apply a low feather, then go over it with white.

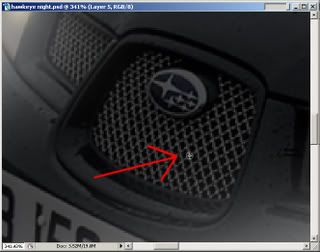
5. I've already achieved what I wanted, but why not modify the car itself a bit? Zoom in on the grill, select it, and paste it into a new layer. Put this layer underneath the light layers. Choose the "Clone Stamp" tool (S key). While holding Alt, click somewhere in the grill area like in the picture. Now release Alt and begin drawing over the Subaru emblem, releasing the mouse button every stroke or so (if you don't, you will soon see why as it copies the emblem up to a new spot). Don't worry if it doesn't look perfect, it won't be as visible later. We have now debadged the car!
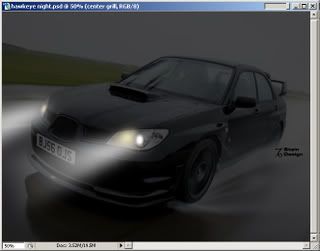
6. For a slightly more-modified look, we will now darken all of the grills. Since we already have the center grill on a new layer, lets start with that. Open up Hue and Saturation (Ctrl+U or Apple+U) and lower the lightness. I used -81. Apply it.
7. Now select the two side grills on the main (darkened) layer, and copy them each to new layers. Apply the Hue and Saturation to them also using the same lightness change as you used on the center grill.

8. We are also going to darken the bottom grill, but it is a bit trickier to select than the other grills. When it is copied to a new layer, repeat the Hue and Saturation adjustment.
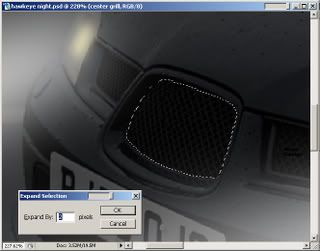
9a. If you like how it looks, go ahead and save it now. The front, in my opinion, seems a bit boring now that it is all black. I'm going to continue and add a few more "modifications." First, create a new layer behind the center grill. Go ahead and select the grill (Ctrl/Apple+A then hold Ctrl/Apple and drag the grill around a few pixels: it should snap back if you get it close). Expand the selection a 2 or so pixels (Select>Modify>Expand).
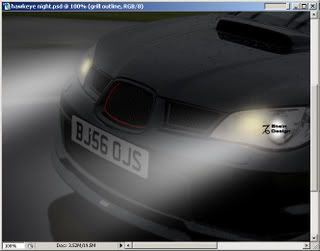
9b. Return to the new empty layer. Using a dark red (or other color) and the Brush tool, fill in an area similar to what I have. This becomes a border of the grill. If the color doesn't seem right, adjust it using Hue and Saturation (specifically Lightness).
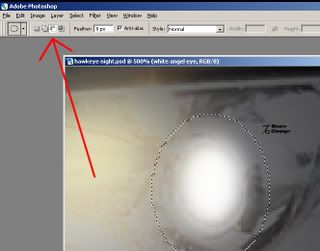
10. The final mod is going to be another light. If you haven't heard of "Angel Eyes," you will soon learn what they are. Create a new layer, then zoom way in on the car's left headlight. You should see the round housing holding the headlights. Select the outline of it with the elliptical tool, then remove the inside of it by switching the marquee tool to "Subtract from selection," leaving your selection as a ring.
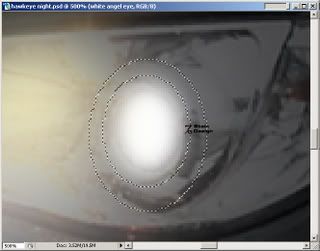
11. Feather the selection with a radius of 1 or 2. Go over it with a white brush or paint bucket tool.
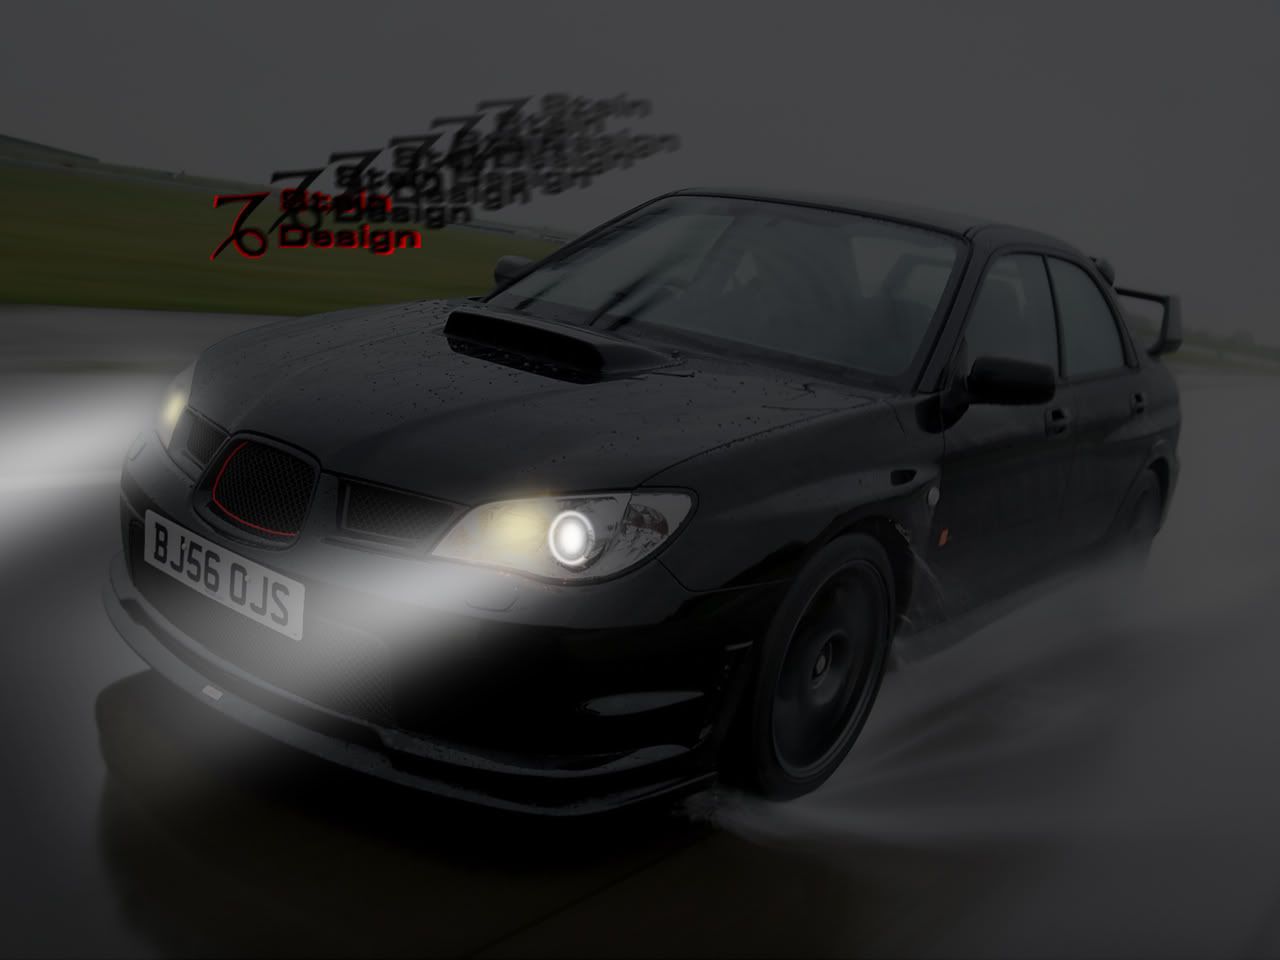
Congratulations, you've now modified a Subaru Impreza! (click for fullsize version)